Importing-> mapping your fields
In order for you to import your data to Fintesk correctly, you will need to map your spreadsheet columns to fields in Fintesk. This way you can make sure that your contact persons, organizations, deals, activities, notes, or products are all imported correctly with their relevant data.
Item icons
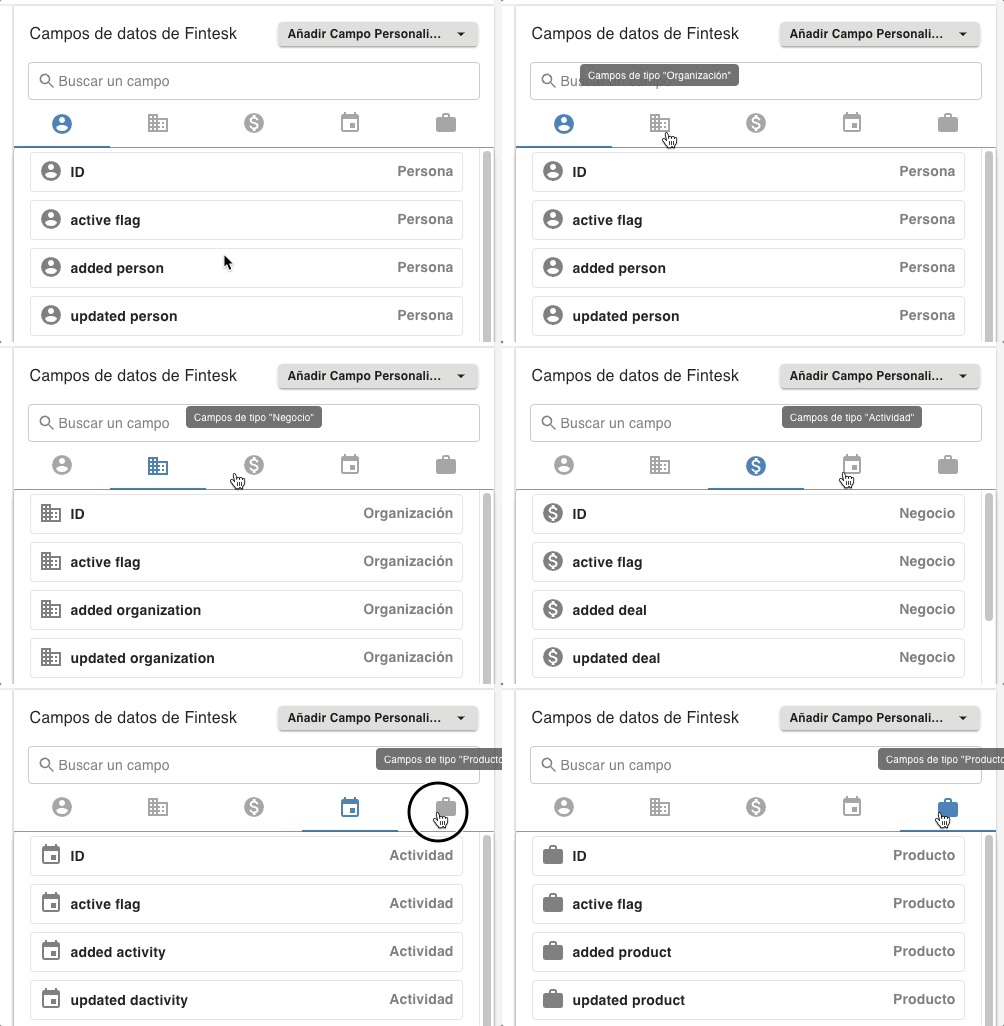
In order to import your data to Fintesk correctly, you will need to map each field with the relevant icons for your items to import. Each item type is represented by an item icon when importing.
For example, all of your person-related fields have to be mapped to fields under the "Person" item icon in order for them to show up properly linked to your contacts.
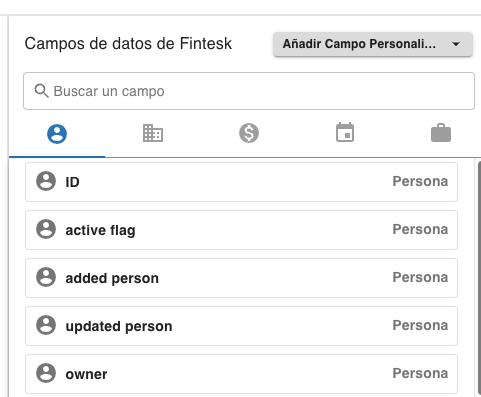
- Person type fields

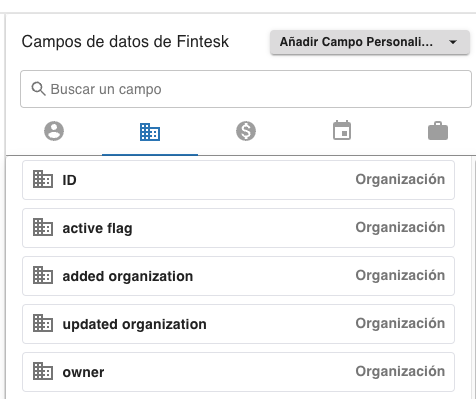
- Organization type fields
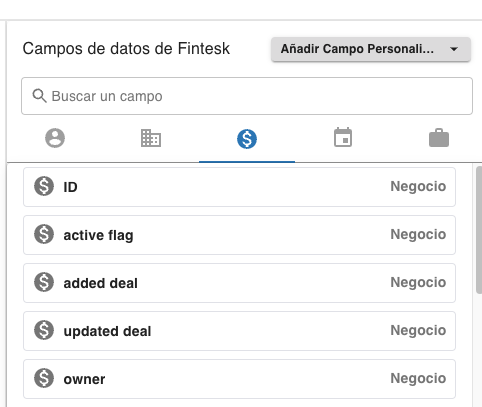
- Deal type fields
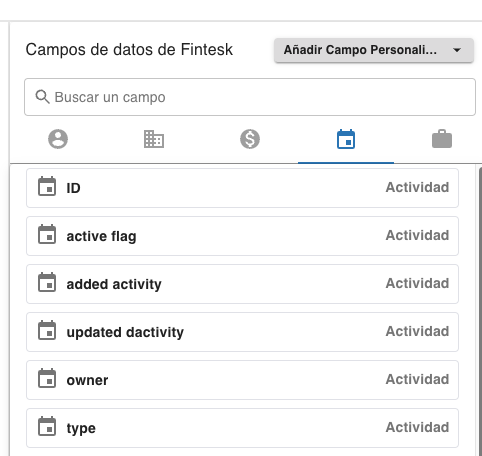
- Activity type fields
- Product type fields
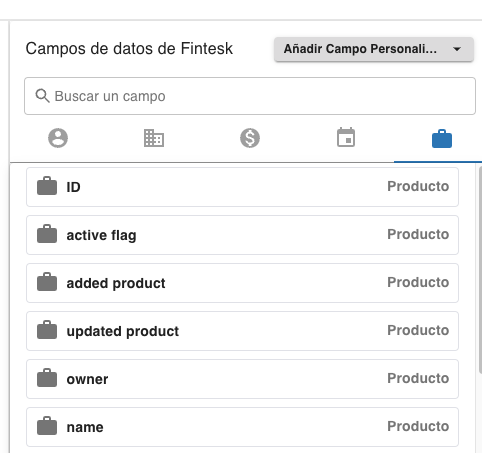
Click on the icons to select the correct type of fields when mapping.
Mapping your fields
Note: Not all of your fields will be mapped automatically, so you will need to map some fields manually. It is always recommended to double-check your mapping before moving to the next step to prevent any incorrect mapping.
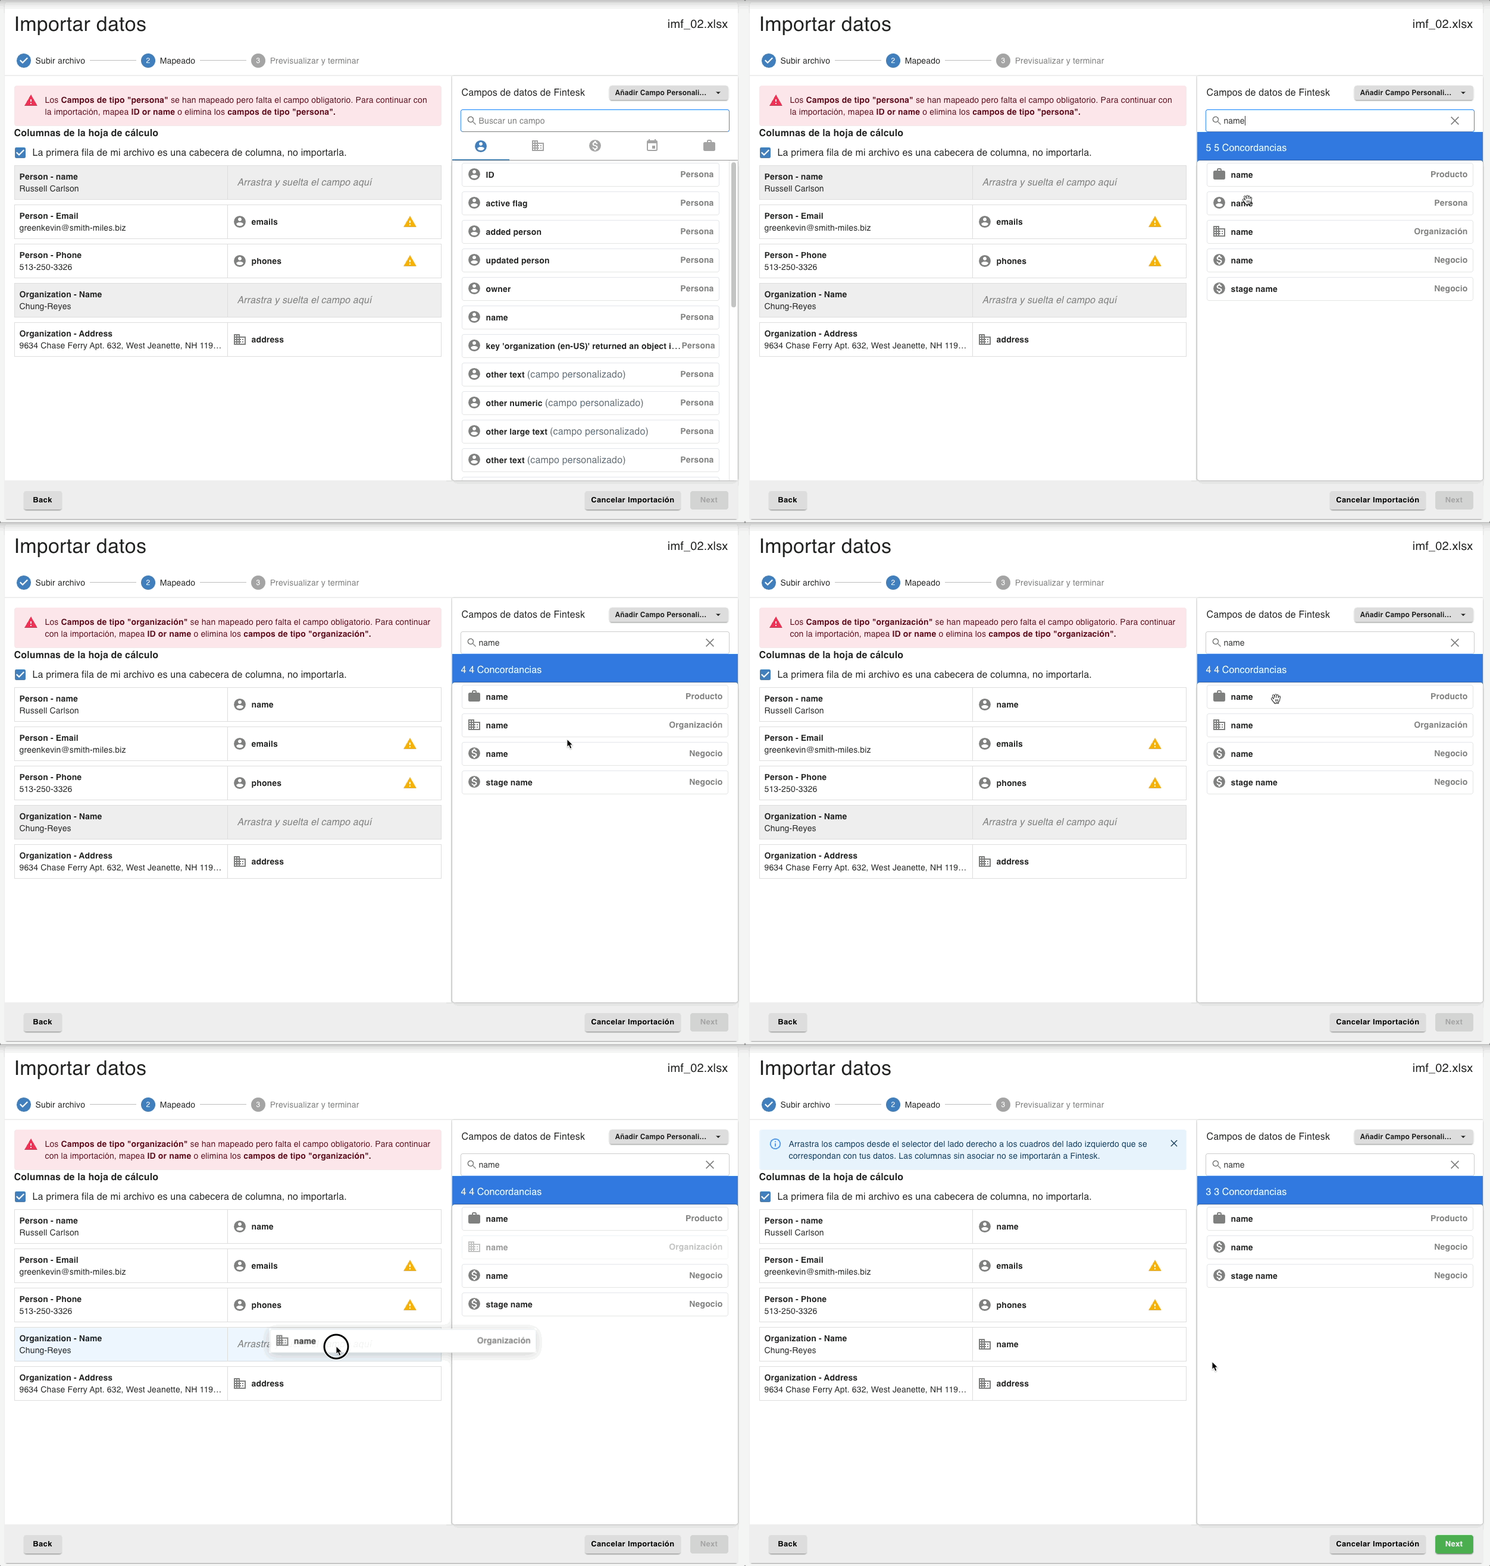
Once you have your spreadsheet set up and imported, you can then begin mapping your fields. Below you can see a sample from a spreadsheet.

When mapping, select the icon of the field type you wish to map. Then click and drag that field to the left-hand side of the page and match it to your spreadsheet columns. You will see the data from the first row of your import, so you can check that spreadsheet is read correctly by Fintesk.
You can find more information on advanced mapping, such as mapping multiple option fields in this article.