Importing-> advanced mapping
When importing in Fintesk, some fields can be trickier to map to your spreadsheet depending on how the fields are set up. Multiple option, address and phone type fields all require an extra step in order for them to be mapped correctly.
To understand our basic mapping functionality, read this article, or for more general information on importing data to Fintesk, please read this article.
Mapping multiple option fields
Note: To map a multiple option field, you will first need to make sure the multiple option type custom field is already created in your Fintesk account. You can learn more about custom fields in this article.
In order to import a multiple option field, there is an extra step for you to map. When you have mapped the field itself ("Group Number" in the example below), click on it to expand and see the individual mapping of each field option from your spreadsheet.
 Check to see if the options from your spreadsheet have been mapped correctly to the custom field options in Fintesk. If they weren't mapped correctly, click and drag the correct options to their corresponding options from the spreadsheet.
Mapping phone numbers
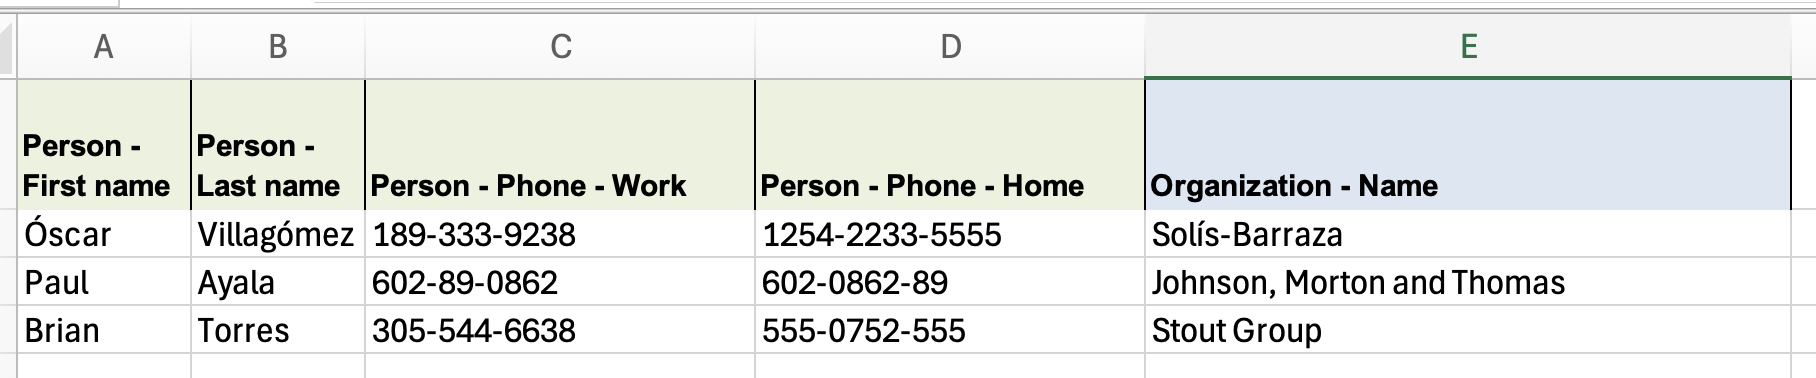
When importing your contact's phone number, you have the option to select the phone label you want to map to Fintesk. If you have multiple phone numbers for a contact, you can map the phone field multiple times.
For example, if you would like to import contacts with a personal mobile phone number as well as a work phone, you can do so by adding the numbers in separate columns.
 When mapping, you can click and drag the phone field multiple times. Once it has been mapped, click on the pencil icon to assign a label to that phone number type.
 You can choose to label your phone numbers as Work, Home, Mobile, or Other.